Guide to Restoring an Old Pool Table
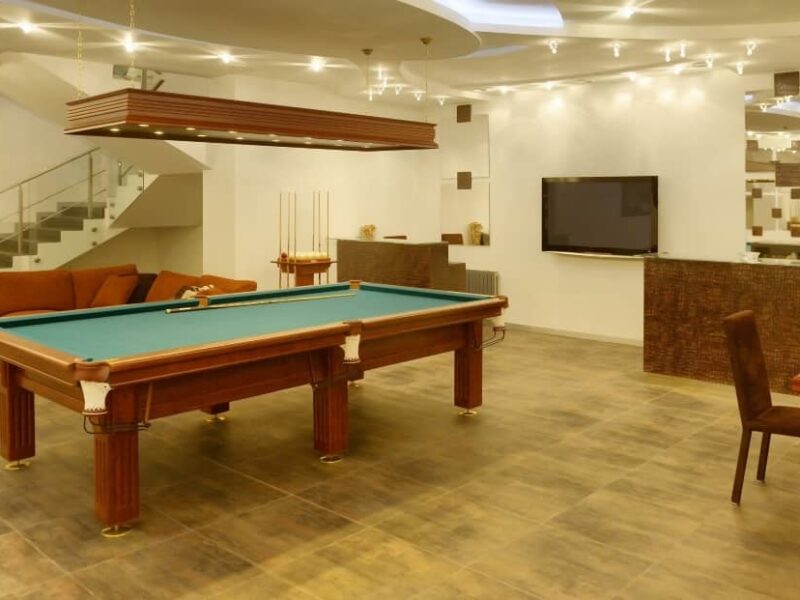
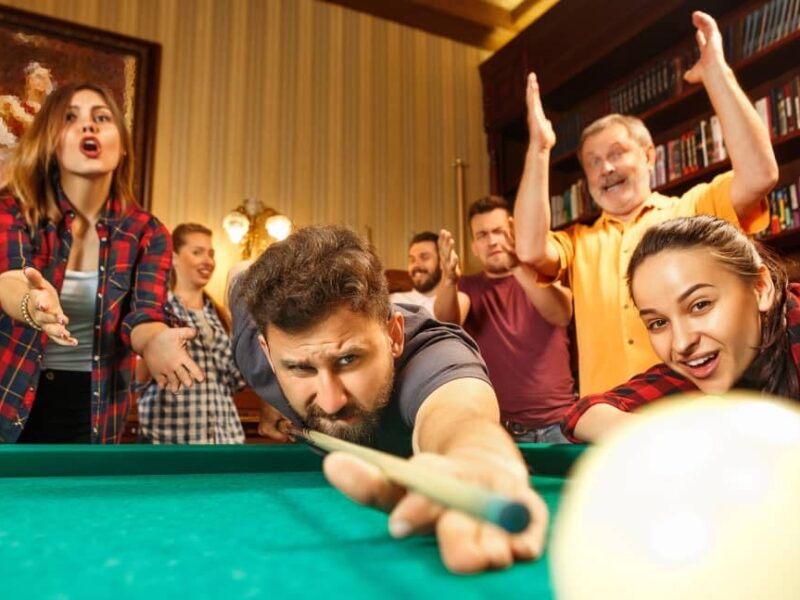
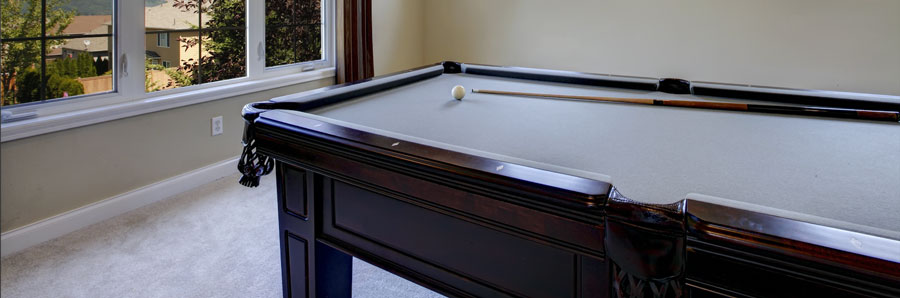
Pool tables are an incredible investment, whether or not you are a fan of the sport. They are a good source of hours of fun and entertainment for social gatherings. They also enhance the overall look of a room.
Since your pool table is not cheap, you certainly want it to last for many years. Maintaining it is not complex because the key is to keep a few items off the table, including:
- Jewellery
- Moisture
- Heat
- Coins
- Your pets
- Chalk
- Cue tips
- Pool balls
That’s right. The table’s top enemies include the game itself, along with your pets and the sun. Of course, it is not possible to keep the pool table in a temperature-controlled room. Just like all your possessions, it will deteriorate over time, no matter how reasonably responsible you may be. In this article we share our best tips with you should you decide to restore an old pool table or a bit of furniture.
As time passes, you will notice the difference in the following areas:
Felt: The playing surface is one of the most important components of your table and the felt will be the first thing to wear out. In a home situation, the felt typically lasts from eight to fifteen years. The lifespan depends on usage and the quality of the cloth on your table. If you use your pool table for at least four to six hours daily the felt will obviously have a shorter lifespan and may have to be replaced every 3-5 years. In a pool hall or club, the cloth will may have to be replaced every 1-2 years.
Regular brushing in one direction with a good brush in sharp, straight strokes will extend the life of the cloth. Some may recommend vacuuming the surface occasionally to more thoroughly remove chalk dust that has accumulated in the cloth. Vacuum infrequently because the suction can pull the fabric and cause the cloth to stretch. This loosens the cloth and increases the chance of rips and tears with bad cueing.
Cushion Rubber: The cushion rubbers will eventually lose their “bounce” over the years through general use or by players sitting on the rails when making a shot. The rubber is best replaced at the time the felt is replaced. The best quality rubber should last for 15 – 20 years.
Pockets: The pockets (nets) will also have to be replaced over time. This is a fairly easy and inexpensive project if similar pockets are available from your local shop or over the Internet.
Timber: The wooden components of the table should last for many years depending upon use and abuse. The cushions or rails are the first to be damaged with general wear and tear and abuse from balls, cues, belt buckles, etc. Other timber components, such as the base and legs of the table are less subject to damage because these areas are not in “the line of fire”.
The table does not require daily maintenance, but you need to treat it like other furniture made from wood.
What if You Have a Pool Table That Needs to Be Restored?
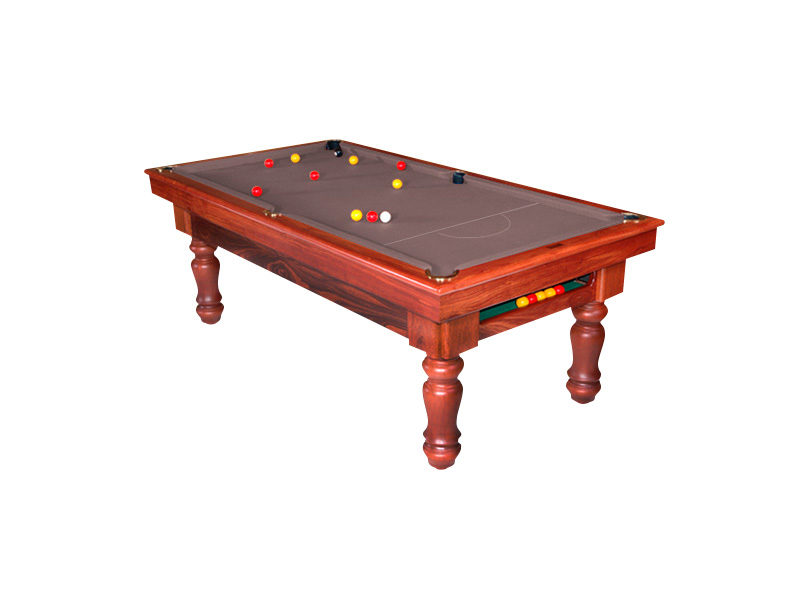
Instead of getting rid of an old table, you can look at refurbishing to make it look new again. There is always a beauty hidden in these old pool tables, including those that may be damaged. Most tables come with a wonderful history. Ask an owner, and you will most likely hear a story behind it.
The restoration will depend on its specific case. The table components may be finished with a clear lacquer to bring out the natural features of the timber or it may be painted. Sections of the table may contain veneers. Some tables may have been moved several times from one owner to another and subjected to an abnormal amount of wear and tear. The table you are looking at maybe covered with years of grease and grime.
Before any restoration attempt, you should study it in detail first. Research the materials required and consult a few experts to know how you can come up with the best solution.
You have two goals for the restoration:
- To bring the table back to its original design
- To return it to its former playability
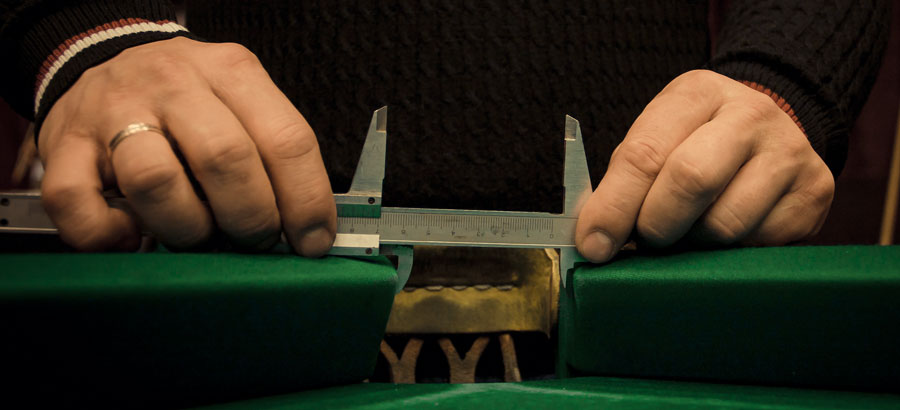
Pool is a competitive game, and the table itself is an exceptional furniture piece. The difference between the then and now pool tables lies beyond the décor style. They have to meet a set of specifications to meet ultimate playability.
A few factors affect the value of an old pool table, including:
- Wood species
- Overall design
- Decorative woodwork and carvings
- Interior intricacies
- Inlays and inlay material
- Table age
- Rarity
- Mouldings
Restoration Process
You may be interested in refurbishing the old table to either use or sell it. Nevertheless, restoring it will bring back the timeless work of art.
Prior to tackling the steps on how to restore an old pool table, give serious thought as to whether you should do it in the first place. It won’t be an easy project.
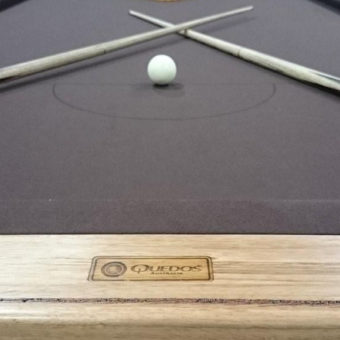
Rather than do it yourself, you may decide to rely on an expert to do the work. There are companies that specialise in restoring pool and snooker tables such as Quedos.
If you decide to restore an old pool table to its former glory and do it yourself, here is our guide that will help you achieve your goal:
Prepare the Necessary Supplies
Before you even begin the restoration process, you should first thoroughly inspect it as mentioned earlier. This way, you will know the materials you need for repairing and refurbishing. Among the most common things that you will need for this project are:
- Stain or lacquer
- Paint
- Paint stripper
- Steel wool
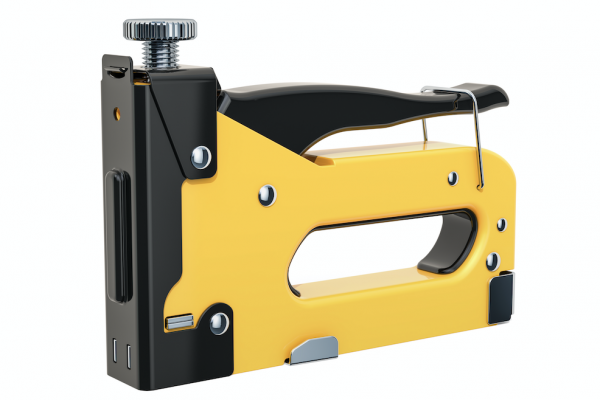
- A staple gun
- Staples
- Staple remover
- Nails
- Wood glue
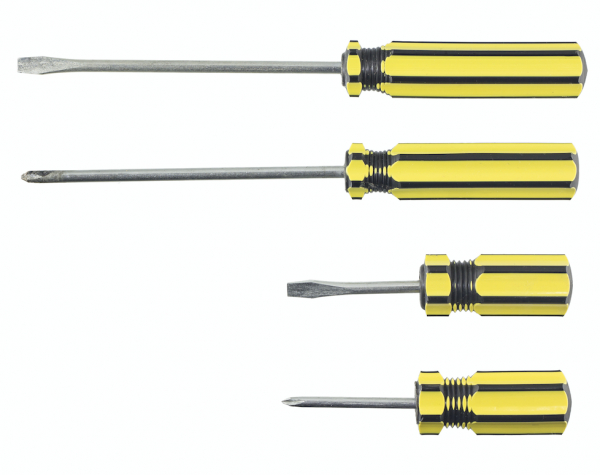
- Screwdrivers
- Pockets
- Felt
- Feather strips intended for rails
- Rubber mallet
- Moulding
- Bolt remover, such as a wrench
 When you have all the listed supplies above, you can proceed to the next step:
Remove the Old Felt After Removing the Pockets and the Cushion Rails
Start by removing the pockets and number them for future reference. This will give you access to the bolts holding the cushions. Liftoff the cushion rails, number them and remove the felt. You will notice that the felt is attached to the rails by tacks or staples. Pull out all tacks/staples. A thin wooden strip may be utilised to keep it in place. You may want to try and save this strip so that you can reuse it, but it not an easy task. If it gets damaged, do not be so hard on yourself and replace it.
Remove the cloth on the table bed by pulling out all tacks or staples.
Cushion Rails
The railings on the table will have dents and be generally worn with age. The wooden rails can be restored by sanding with sandpaper. If the rails are smooth, then a power sander can be used, but if they have carvings in them then very light gauge sandpaper is the tool for the job. Make sure you remove any old paint or varnish with nontoxic stripping thinners and steel wool to thoroughly clean. Now you can use a clear lacquer to bring out the wood’s natural texture or stain the timber.
It is likely that the cushion rubber will have to be replaced to provide better playability. Do this after the finish has cured.
This is not an easy task and involves:
- Sourcing good quality cushion rubber
- Removing the existing rubber cushions from the rails
- Take a template of the end cushion
- Take a template of the side cushion
- Gluing and screwing new wooden cushion blocks to the cushion rails
- Fitting the new cushion rubber to the cushion blocks
- Cutting and shaping the ends of the cushion rubber as required
- Covering the completed cushions in the new felt.
 Woodwork
 Woodwork
Old pool tables tend to have veneers. Several pieces may be missing as well from the table sides, legs, or both. If the surface is lifting, you can use wood glue to hold these portions together. Holes and chips can be filled. Use sandpaper to smooth the surface.
Moulding can be used to cover the veneer that may be missing. This process works well if there is a large area that you need to conceal. Use glue to attach the moulding. The semi-finished product will give your pool table a little bit more character.
Your job now is to rebuild the parts that are missing or damaged. Some may be beyond repair, so you have to replace them. Once the components are rebuilt, you can use a finish stripper, which will help remove the grime, dirt, and other old stains.
If you want to get the timber back to its natural look use nontoxic paint stripper and sand with 80/120/180/240 grit sandpaper. Apply 2 to 4 coats of clear lacquer or a gloss, depending upon the finish you prefer. Sand lightly with 300 grit sandpaper between coats.
If the table has been painted you will surely decide to cover it with a new one. Before painting, however, make sure you prime the table first. Then, paint it with the colour of your choice. It helps that you have already made a decision before this process. You do not want to rush to the store to buy paint, especially if you keep changing your mind.
You have to be quite detailed and skilled as you perform the restoration. Most of the procedure is done by hand, which helps ensure preciseness. Remember to wear eye protection when sanding and carrying out other repairs.

Add the New Felt, Rails and Pockets
Select the cloth colour. Felt comes in over 20 colours, not just in green. Make sure that the cloth is high-quality since it will be the most used part of the table. Ideally, select 100% wool English cloth.
Before you attach the felt, clean the surface of the slate first. It should be free from dirt and dust. Repair any minor damage on the slate to ensure the slate is in top condition. The slate keeps the table flat and even so that the ball accurately rolls.
Stretch the felt and staple it to the table to secure it. Staple felt stretching it as you attach to the table. You will also need to lay the felt onto the rails. The process is the same as when you took it off but in reverse. Add the feather strips and use a rubber mallet, which will keep the felt in place. Affix the rails.
With the pockets, you can either replace or repair them, but you will find generally that they will have to be replaced. It is always better to replicate the original design, if possible
Final Touches
- Mark the spots and lines on the cloth
- Ensure the table is level using a quality spirit level. If necessary, you can adjust the height of one or more of the legs to remedy the imbalance.
- Now enjoy your new table