Our Version of The Ten Commandments of Snooker
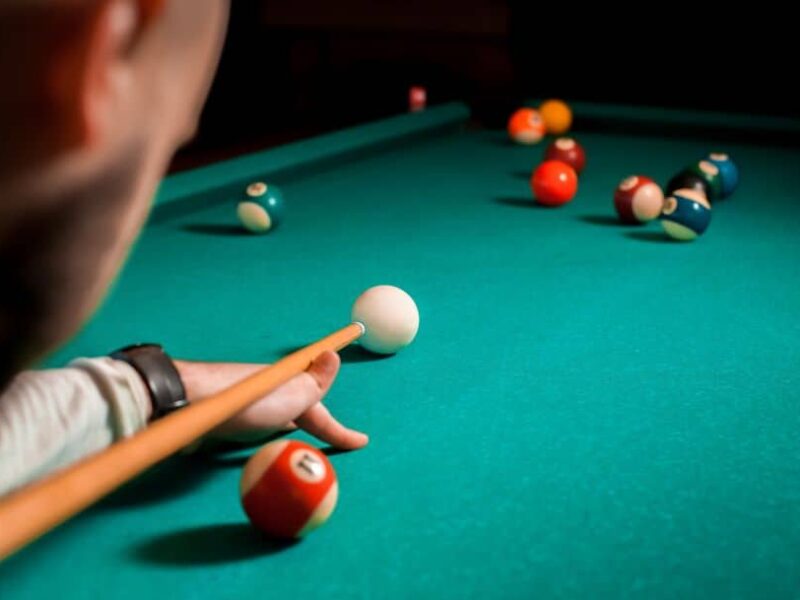
1. The Stance
There is no definitive edict about how to stand. Your stance is determined by your height, whether short or tall and your body type, whether slender or hefty. With this in mind:
Stand in a position where your feet feel comfortable.
Because your stance is a personal choice, don’t try to mimic a contorted position seen in a manual, or an unusual posture used by a professional snooker player. The one thing that all players will have in common is that they need to be entirely comfortable and at ease when they are down on the shot.
When you play the shot, your legs and body must remain perfectly still and balance. There should not be any feeling of tension or strain on any part of your body.
If your stance feels awkward or uncomfortable, reposition your feet. Ask a friend or another player to watch and see if anything other than your cue arm moves as you strike. If this happens, make a mental note to immobilise the body part that moves. Once you have your correct position, and it feels natural when playing, then you will have found the stance that is right for you.
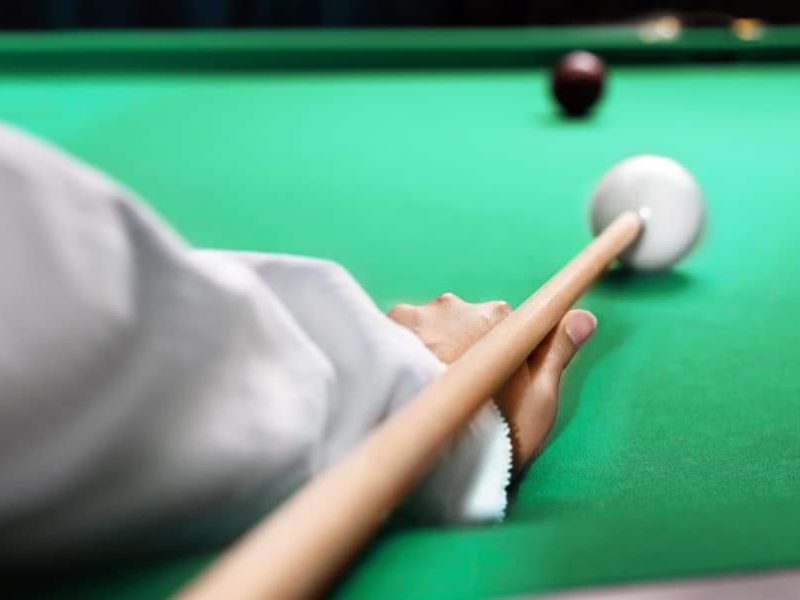
2. The Bridge
Your bridge posture must be fixed firmly in place and steady. Even the slightest movement of your bridge will create a movement of the cue. And this means that you won’t be connecting with the cue ball at the point where you aimed. There are two approaches to forming a bridge.
Approach One: (h3) Place your hand flat on the table and spread your fingers as wide as possible while still feeling being comfortable. With the fingers still spread, and keeping the fingertips on the table, raise the knuckles about 2 inches. This forms a cup shape with the fingers.
Rest the outside pad of the thumb on the table, then bring the thumb to rest against the knuckle of the first finger. The result of having the thumb in a cock position is a V-shaped channel that the cue can run through when making your shot.
Approach Two: (h3) Forming a bridge position with this approach may be more natural for someone just learning the game. Before placing your hand on the table, tuck the third and fourth fingers into your palm.
Now put your hand on the table with the first and second fingers spread and the thumb in a cock position. Unfold the tuck fingers and spread them on the table. The result will form your perfect bridge.
3. The Bridge Arm
Your bridge arm needs to be held as straight as possible without feeling uncomfortable. It is understood that this arm cannot be entirely straight, but the aim is that with a straight arm you will not lean into the shot.
Yes, there are a lot of players, including the game leaders, who play with their bridge arm bent. But, that is a technique acquired after years of playing. When learning to play by the acknowledged rules, start by playing with your arm straight.
The reason is that when you feel pressured to make a shot, there is a high tendency to move your upper body and shoulder into the shot. If you keep a straight arm, you will not be able to move the other body parts.
It is not unusual for your shoulder to ache when learning to straighten your arm. This is a natural reaction to stretching some muscles that are not used to this position. Don’t give up. With practice, as the muscles become accustomed to this new position, there will not be any more aches.
It is entirely understandable that when attempting difficult bridging shots and some cushion shots, a straight arm approach is neither practical nor possible.
4. The Grip
The grip is a combination of comfort, control, and balance. To learn the correct grip for yourself, put the cue on the game table and then place your hand around the cue end where you intend to pick it up. This will be the same grip on the cue butt that will use to move down into the playing position. Remember, you only apply enough grip control on the cue to ensure it does not fly out of your hand when the shot is played.
A good cue grip uses the thumb and the first two fingers, and the other fingers serve to support the cue. There is no perfect spot on the butt where you must hold the cue. You may need to experiment with your grip because it depends on the balance required for the cue. Wherever you find your comfort grip on the cue, it should be at a length that lets you hold the cue at the end, give or take a few inches.
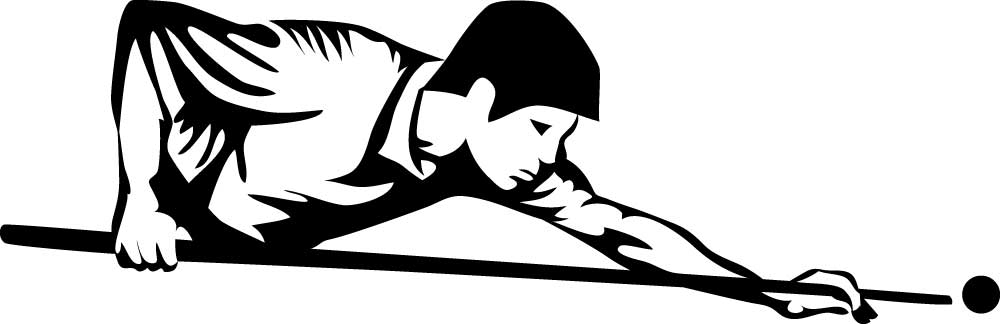
5. The Cue Arm
This involves positioning the upper arm, elbow, and lower arm in a direct line with the cue. Your elbow acts like a hinge that lets the lower arm swing back and forth like a pendulum.
Only the forearm should move on short shots. The upper arm comes through after contact with the cue ball for power shots, and shots with lots of follow-through. This upper arm action makes sure that you are making a stunted or jerky shot. To avoid making poor shots, never put your shoulder into the shot.
You may see professional players and game leaders using their shoulders, but those actions are the result of sheer natural ability, perfect timing, and a touch of showmanship that are rare combinations.
6. The Cue Action
This movement needs to be consistent and straight. Hold your cue as horizontal to the game table as possible without any seesaw movements. Your aim is to deliver the cue straight as an arrow to the centre of the white. Any shot that deviated off centre will result in an unwanted side, and that leads to missed pots and poor positioning.

7. The Head
Keep your head as still as possible. The worst common fault of players is letting their heads move as the shot is played. The neck and upper body will move if the head moves, and the result is inaccurate cueing.
8. The Eyes
As you are calculating your shot, your eyes flit back and forth between the three critical spots on the table:
- The cue ball and the point on the cue ball you intend the tip of your cue to strike.
- The object ball and the point on that ball where you want the white to make contact
- The pocket where the object ball will land if everything goes right.
There is no hard and fast rule about which order to use when checking these three spots. There is also no firm rule on how much time you should focus on each spot.
The most common question asked is:
Where should I be looking when the shot is played? The definite answer is: At the moment of the strike, your eyes must be locked on the object ball. Not on the white, not on the pocket, but the object ball.
9. The Delivery
The main rule behind your delivery is to line up and aim exactly where you intend to hit the white. While this would seem obvious, many players tend not to point where they are going to strike. This loss of concentration works to their detriment.
Not adhering to the lineup and aim procedure leaves the player not being able to hit where they intend to aim.
For your delivery, pick your spot on the white and envision sending your cue tip to this point. This is where the feathering comes into play, the back and forth movement of your cue before the actual shot. Practice not hitting from a standing start, which is done without feathering, because this makes for a jabbed or hurried shot.
The feathering action is paramount to ensure you are always aiming at the right spot on the cue ball and feeling for the right cue weight to use for the shot. Feathering is not to be hurried; it needs to be comfortable and relaxed, like stroking a soft fur. There is no right or wrong number of feather movements. You need to be consistent in the amount that you use.
When your spot aiming is decided, and the feathering is done, you are ready to pull back for the final time and slide the cue forward. Your last concerns will be:
To pause or not to pause?
To take a long pause or short pause at the end of the backswing?
You will hear a lot of different opinions, but I recommend a slight pause so that you can make any last minute adjustments in your sighting and cueing.
It is a personal choice on how much time your brain needs to make these adjustments that will determine how long your pause will be. But, there should be a pause for composure.
10. The Strike
Striking the white is not intended to be a rushed action. You guide your cue in a smooth, accelerated movement from the full extent of your backswing to a selected point through and beyond the white.
You don’t need to worry about how far to follow through. If you maintain a smooth and unhurried delivery, without any jerking during the follow through, the length of your follow-through will become a natural part of your cueing.
If you think that your cueing is not what you want it to be, think about the following points.
- Is the tilt of the cue pointing at the line of aim? Is the cue parallel to the bed of the table?
- Did your stance remain in balance after the shot?
- Did your head and body stay in the same position at the end of the shot as they were at the beginning of the shot?
When you can achieve all of the listed 10 points, you will have scored the 10 most important aspects of your snooker game. Using these 10 points regularly means you will make a lot more points on the table.
To see how these points play out in real time, watch the following video:
Every Quedos Table Is Custom Made To Order in Our Perth Factory
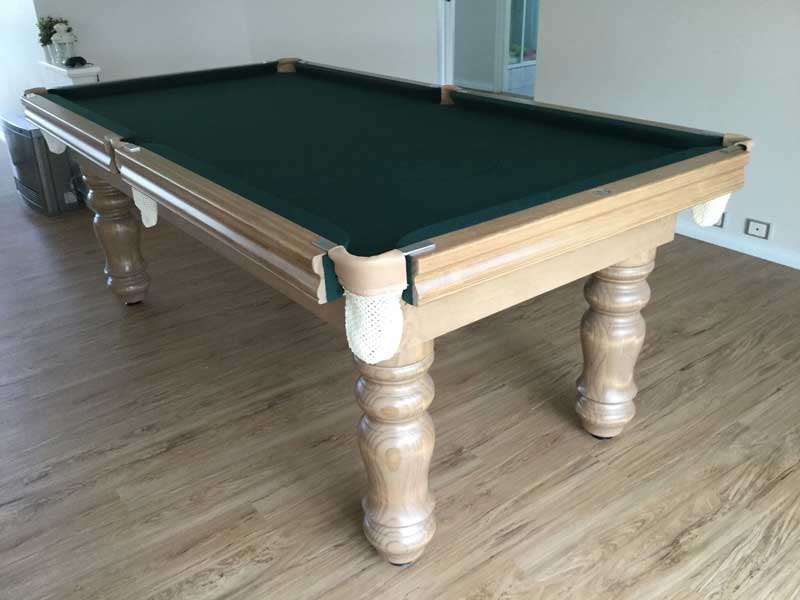

Your Quedos table can be made in the stain or metallic/enamel finish of your choice – such as this 7ft. MKI delivered this week. Simply provide us with a sample of the finish you want for your table from your local Bunnings or email us a photo of your requirements and we will match it. Customers have been known to bring in a chairs or drawers to enable our very experienced finisher/polisher to achieve an exact match.
As an example of what Quedos can do, the most popular model in The Contemporary Ball Return series features a “two-tone” grey. The table’s cushions are painted in a metallic grey with stainless steel trim between the very dark metallic grey of the base and the legs.